
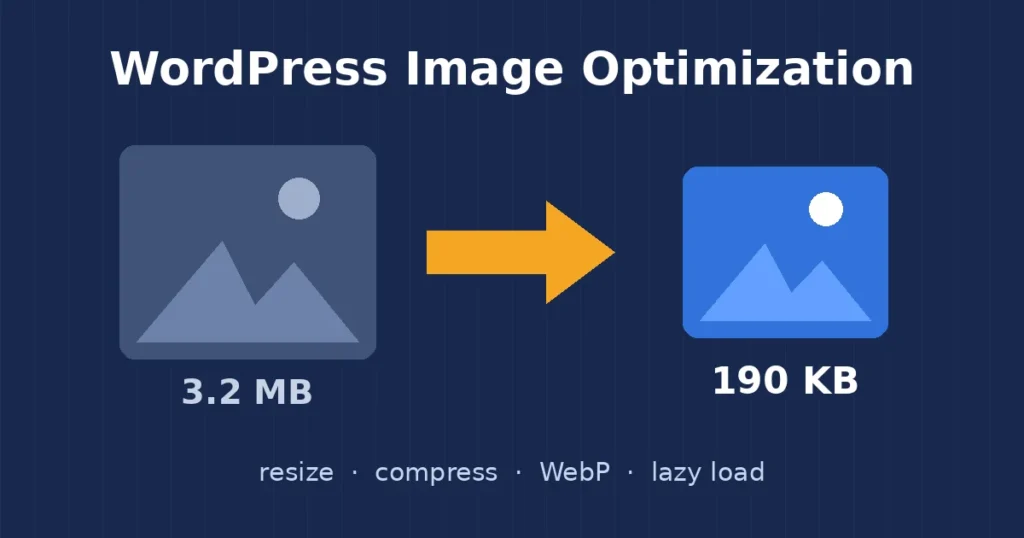
WordPress image optimization is the first thing I check when a client tells me their site feels heavy. On most slow sites I audit, images make up the biggest share of what a visitor downloads, often more than all the scripts and styles put together. In this post I share the WordPress image optimization steps I use on client sites: resizing, compression, modern formats like WebP, and making sure WordPress serves the right size to each screen.
I am a freelance WordPress developer in Surat, and I follow this same routine on almost every speed job. Good WordPress image optimization does not need expensive tools. It needs a clear order and a few settings done once, properly.
Why WordPress image optimization matters
A photo straight from a phone or camera is usually 4000 pixels wide and 3 to 5 MB. Most themes show it at 800 to 1200 pixels. That means the browser downloads many times more data than the screen can use, and on a mobile connection that is the difference between a page that loads in two seconds and one that loads in eight.
Large images also hurt Largest Contentful Paint (LCP), the Core Web Vitals score that measures how fast the main content appears. On many pages the LCP element is the hero image or the featured image, so heavy images show up directly in PageSpeed Insights. When I worked on my own site, image fixes were one part of the changes I describe in my WordPress speed optimization case study.
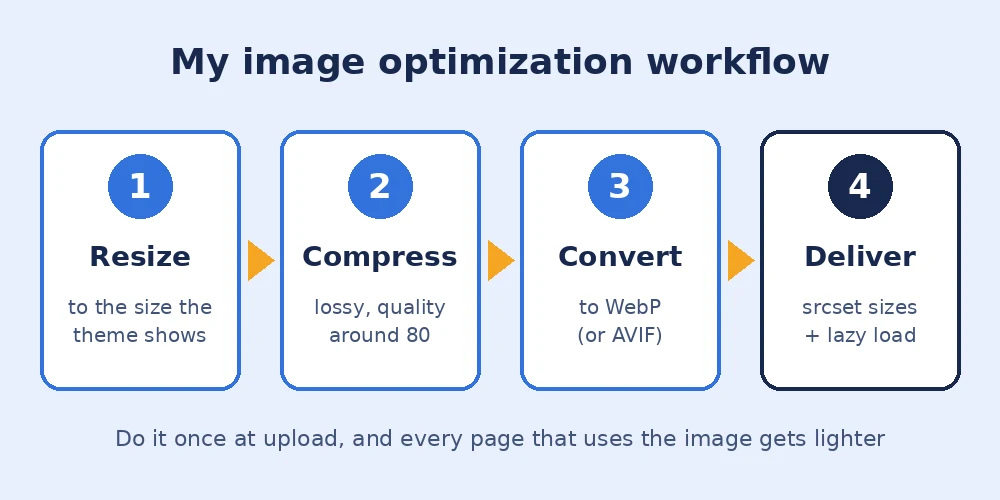
My 4-step WordPress image optimization workflow
I do the steps in this order because each one makes the next more effective. Compressing a 4000-pixel photo still leaves you with a big file, so resizing always comes first.
1. Resize images before or at upload
I ask clients to resize photos to around 1600 to 2000 pixels on the longest side before uploading. That is enough for full-width banners on most screens. Since WordPress 5.3, WordPress also scales down any upload larger than 2560 pixels and keeps that scaled copy as the main image, which is a useful safety net but not a replacement for resizing yourself.
When a site already has hundreds of oversized images in the media library, I use an optimization plugin with a bulk resize option to bring them down to a maximum width in one go. I always take a backup first, because resizing replaces the original files.
2. Compress without visible quality loss
Next I compress, which is the step most people think of first when they hear WordPress image optimization. For photos I use lossy compression at a quality of around 75 to 82. At that level I cannot see a difference on screen, but the file is usually far smaller. For logos, icons and screenshots with flat colours and text, I prefer lossless compression or SVG, because lossy settings can make text edges look blurry.
Plugins such as EWWW Image Optimizer, ShortPixel and Imagify can compress new uploads automatically and work through old ones in bulk. I pick one, configure it once, and do not stack two image plugins on the same site, because they fight over the same files.
3. Convert to WebP or AVIF
WebP files are usually much smaller than JPEG or PNG at the same visual quality, and every modern browser supports them. WordPress accepts WebP uploads since version 5.8 and AVIF since 6.5, as long as the server’s image library supports the format. Google’s guide on serving images in WebP explains the savings well.
For WordPress image optimization on client sites, I usually let the optimization plugin create WebP copies and serve them automatically, so old posts benefit too without editing each one. Every image on this blog, including the ones in this post, is a WebP file.
4. Serve the right size with srcset and lazy loading
Good files are only half of WordPress image optimization. The other half is making sure each visitor gets a size that fits their screen. When you insert an image from the media library, WordPress adds srcset and sizes attributes, so a phone can pick a small version and a desktop a larger one. The WordPress responsive images documentation covers how this works.

A few things I check here:
- Registered image sizes: under Settings > Media, the thumbnail, medium and large sizes should roughly match how the theme displays images. I also remove extra sizes that old themes or plugins registered but no longer use, since each one creates another file per upload.
- Width and height attributes: every image should have them, so the browser reserves space and the layout does not jump while loading.
- Lazy loading: WordPress adds
loading="lazy"to images by default, so images further down the page load only when the visitor scrolls to them. - The LCP image is not lazy loaded: the hero or featured image at the top should load straight away. Recent WordPress versions skip lazy loading on the first large image and can add
fetchpriority="high", but page builders and sliders sometimes undo this, so I confirm it in the page source.
Common image mistakes I fix
These are the WordPress image optimization problems I see most often when I take over a site:
- Images set as CSS backgrounds in page builders: background images do not get
srcset, so mobile visitors download the full desktop file. For important images I use a normal image widget instead. - PNG used for photos: a photo saved as PNG can be several times bigger than the same photo as JPEG or WebP.
- Sliders with ten full-size images: every slide loads even if the visitor never sees it. I cut sliders down or replace them with a single strong image.
- Two optimization plugins at once: this causes double compression, broken WebP rules or missing images.
- Raising the upload limit instead of resizing: if someone needs to upload a 20 MB photo, the real fix is a smaller photo. I explain the right way to change it in my post on the WordPress upload limit.
How I check the results
After the WordPress image optimization changes, I clear all caches and run the page through PageSpeed Insights on mobile. I look at the “Properly size images”, “Serve images in next-gen formats” and “Efficiently encode images” items and the LCP time. I also open the browser’s Network tab, filter by images, and compare the total image weight with what it was before I started.
If the site still feels slow after the images are fixed, the cause is usually somewhere else, such as hosting, too many plugins or heavy scripts. My list of fixes I try first on a slow WordPress site covers those next steps.
Final thoughts
WordPress image optimization is one of the cheapest speed wins you can get: resize first, compress at a sensible quality, switch to WebP, and let WordPress serve the right size with lazy loading. Set it up once and every new upload benefits. If you would like me to audit the images and overall speed of your WordPress or WooCommerce site, feel free to get in touch.