
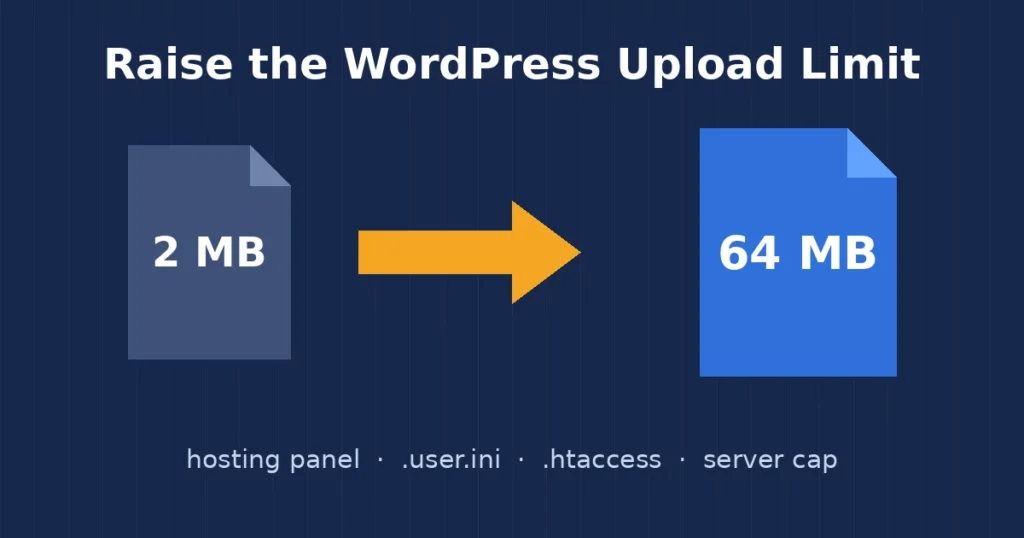
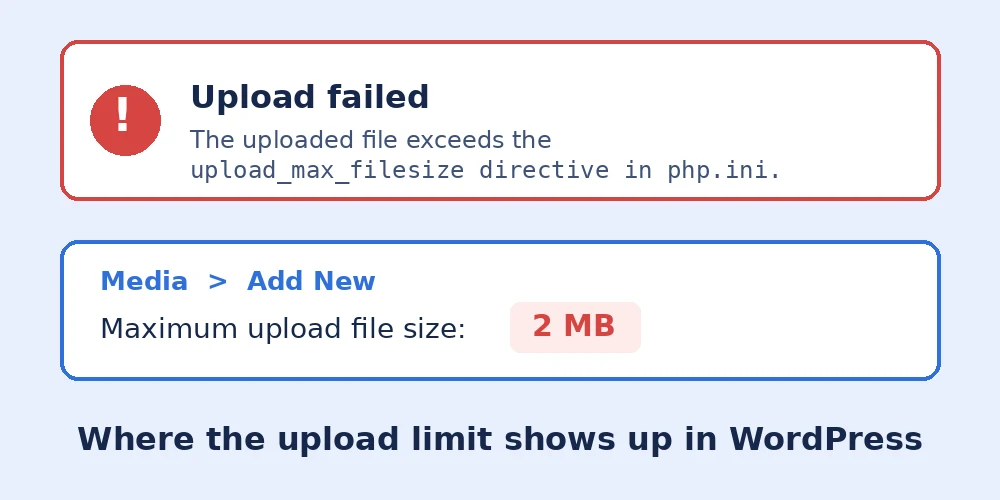
The WordPress upload limit is one of the most common small problems I get asked about. You try to add a video, a large PDF or a theme zip, and WordPress stops you with a message about file size. Sometimes it is a clear error, sometimes just a vague “HTTP error” or “The link you followed has expired”. In this post I explain where the WordPress upload limit comes from, how I check it, and the five ways I raise it safely.
I am a freelance WordPress developer in Surat, and I fix this on new client sites almost every month. Most of the time fixing the WordPress upload limit takes a few minutes once you know which setting your server actually reads.
Where the WordPress upload limit comes from
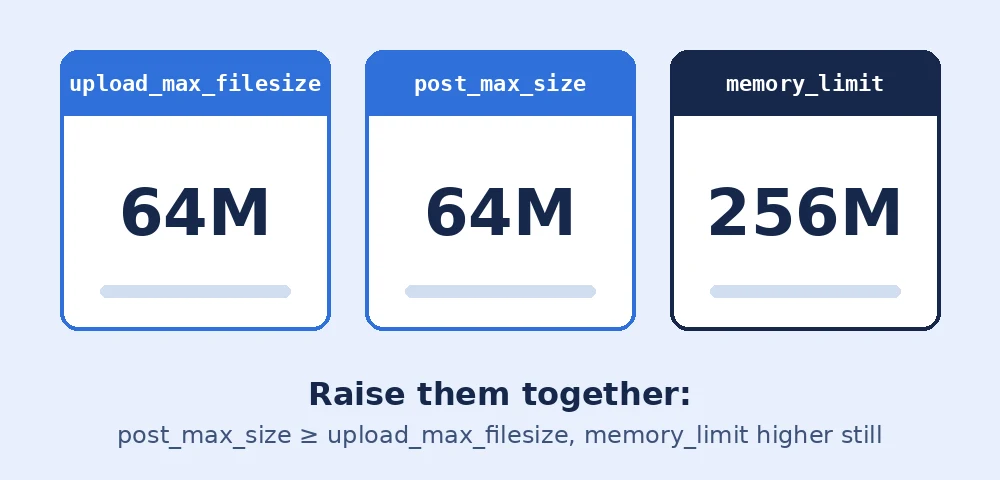
WordPress itself does not decide how big a file can be. The WordPress upload limit comes from PHP and the web server. Three PHP settings matter most:
- upload_max_filesize: the largest single file PHP will accept.
- post_max_size: the largest whole request, which includes the file plus form data. It must be equal to or bigger than upload_max_filesize.
- memory_limit: how much memory PHP can use. WordPress needs extra memory to process images after upload, so this should be higher than the other two.
On top of PHP, the web server can have its own cap. Nginx uses client_max_body_size, and when a file is too big for it you see a “413 Request Entity Too Large” page instead of a WordPress message. The PHP settings are described in the official PHP core settings documentation.
How I check the current WordPress upload limit
Before changing anything, I look at what the site is using right now. There are two quick places in wp-admin:
- Media > Add New: the line under the upload box says “Maximum upload file size” with the current value.
- Tools > Site Health > Info: the Media Handling section shows the max size of an uploaded file, and the Server section shows the upload and post size values PHP reports.
The Site Health screen is the one I trust most, because it shows what PHP really loaded, not what a config file claims. I note the current numbers so I can confirm later that my change worked.
Pick a sensible size first
It is tempting to set everything to 1 GB and forget about it. I do not do that. A huge WordPress upload limit lets anyone with an account push very large files to the server, which fills disk space and makes backups slower.
For most business sites, 64 MB is plenty. It covers large PDFs, theme and plugin zips, and short videos. For a site that really needs bigger files, I go to 128 MB or 256 MB. Long videos are better on YouTube or Vimeo and embedded, rather than stored in the media library.
5 ways I raise the WordPress upload limit
Which method works depends on how your host runs PHP. I try them in this order, from the cleanest to the last resort.
1. The hosting control panel
Most hosts now let you change PHP settings from their dashboard. In cPanel this is usually under Select PHP Version (Options tab) or the MultiPHP INI Editor. Other hosts have a “PHP settings” page per site. I set upload_max_filesize and post_max_size to the same value, raise memory_limit if needed, and save. This is the safest way to change the WordPress upload limit because the host writes the setting in the right place for its own setup.
2. A php.ini or .user.ini file
If there is no panel option, I add a small ini file in the site root, the same folder as wp-config.php. On many shared hosts that run PHP as FastCGI or PHP-FPM, the file is called .user.ini. On some older setups it is php.ini. The content is the same:
upload_max_filesize = 64M
post_max_size = 64M
memory_limit = 256M
max_execution_time = 300
One thing that catches people: PHP caches .user.ini for a few minutes, so the new value may not show straight away. I wait five minutes and check Site Health again before deciding it did not work.
3. The .htaccess file (Apache with mod_php only)
On Apache servers that run PHP as a module, you can set the values in .htaccess:
php_value upload_max_filesize 64M
php_value post_max_size 64M
php_value max_execution_time 300
php_value max_input_time 300
Be careful here. On servers that do not run mod_php, these lines cause a 500 Internal Server Error and the whole site goes down. I always keep a copy of the original file and test the homepage right after saving. If you see a 500 error, remove the lines and use the ini file method instead.
4. Ask the host to raise the server cap
If PHP shows the new value but large uploads still fail with a 413 error, the limit is at the web server level. On Nginx that is client_max_body_size, which only the host or server admin can change. On a VPS I edit it myself and reload Nginx, as covered in the WordPress Nginx guide. On shared hosting I open a support ticket and give the exact value I want.
5. Multisite network settings
On a WordPress Multisite network there is one more cap. Under Network Admin > Settings, the “Max upload file size” field is set in KB and applies to every site in the network. Even with PHP set to 64 MB, a low number here becomes the real WordPress upload limit and blocks uploads, so I raise it to match.
What does not work (and why)
Many tutorials suggest adding @ini_set( 'upload_max_filesize', '64M' ); to wp-config.php or the theme’s functions file. On most servers this does nothing to the WordPress upload limit. PHP only reads upload_max_filesize and post_max_size when the request starts, before WordPress loads, so changing them from inside WordPress is too late. If you added these lines and nothing changed, that is why. I remove them to keep the config clean.
The same goes for random upload plugins that promise to raise the limit. They can only change the number WordPress displays or write to the same files I mention above. They cannot override the server.
Check the new WordPress upload limit worked
After any change, I go back to Media > Add New and Site Health and confirm the new value. Then I do a real test: I upload a file slightly smaller than the new limit and make sure it finishes and shows in the media library. For images, I also check that the thumbnails were created, because a low memory_limit can let the upload finish but stop image processing. If that happens, my guide on fixing WordPress memory limit errors covers the next step.
If uploads work but files show broken links or permission errors afterwards, the folder permissions on wp-content/uploads are often the cause. I explain the values I use in my post on WordPress file permissions.
Keep uploads lean anyway
Raising the WordPress upload limit fixes the error, but large files still slow a site down. I resize and compress images before uploading, keep PDFs reasonably sized, and embed videos instead of hosting them. WordPress also scales down very large images automatically, but starting with a sensible size saves disk space and backup time.
If your uploads keep failing and you are not sure which setting your server reads, I can check it and set the right limit for you. Get in touch and tell me which file you are trying to upload and what error you see.