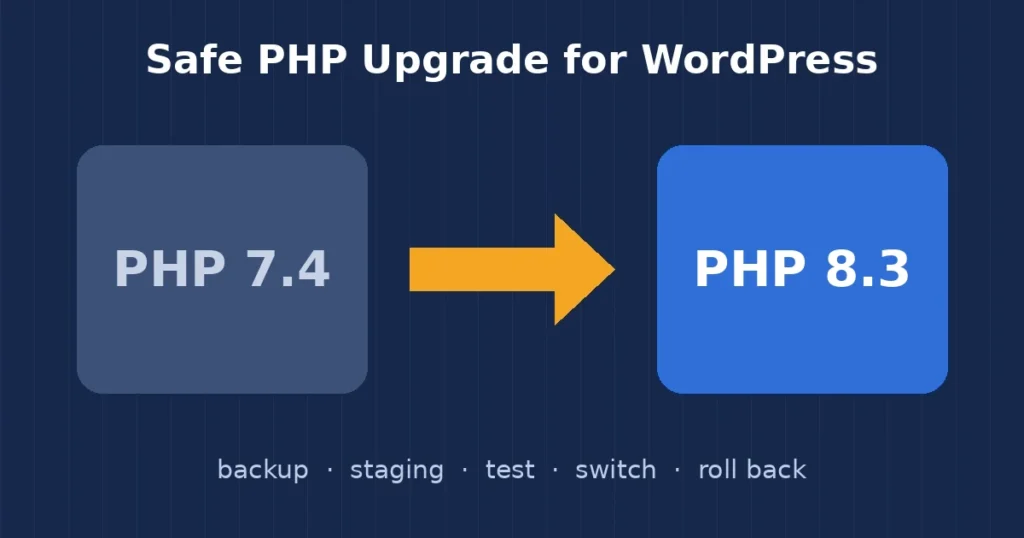
A WordPress PHP update is one of those jobs most site owners keep putting off. The host sends an email saying your PHP version is old, Site Health shows a warning, and it feels safer to leave it alone. I understand that, because a rushed update can break a site. But staying on an old PHP version is slower and less secure, and sooner or later the host forces the change anyway. Here is the WordPress PHP update process I follow so the switch happens on my schedule, not the host’s.
I am a freelance WordPress developer in Surat, and I do a WordPress PHP update for sites of all sizes, from simple blogs to busy WooCommerce stores. The steps are the same every time.
Why a WordPress PHP update matters
PHP is the language WordPress runs on. Every page load runs through it, so the version on your server affects speed, security and what your plugins can do.
- Security: old PHP versions stop getting security fixes. Once a version is end of life, any new hole in it stays open.
- Speed: newer PHP versions run the same code faster and use less memory. On most sites I see a clear drop in server response time after the switch.
- Compatibility: plugin and theme developers drop support for old versions. If you stay behind, you eventually cannot install updates at all.
- Hosting: hosts retire old versions and move sites up automatically. That forced move is when most breakages happen, because nobody tested first.
WordPress publishes its recommended versions on the official WordPress requirements page. I use that as the target, not just “whatever the host offers”.
Step 1: Check what you are running now
Go to Tools > Site Health > Info in wp-admin and open the Server section. It shows the current PHP version, the memory limit and the main extensions. Your hosting panel (cPanel, Plesk or a custom dashboard) will also show the version and usually lets you change it per site.
I write down the current version before touching anything. If something goes wrong, I want to know exactly what to switch back to.
Step 2: Back up and use staging for the WordPress PHP update
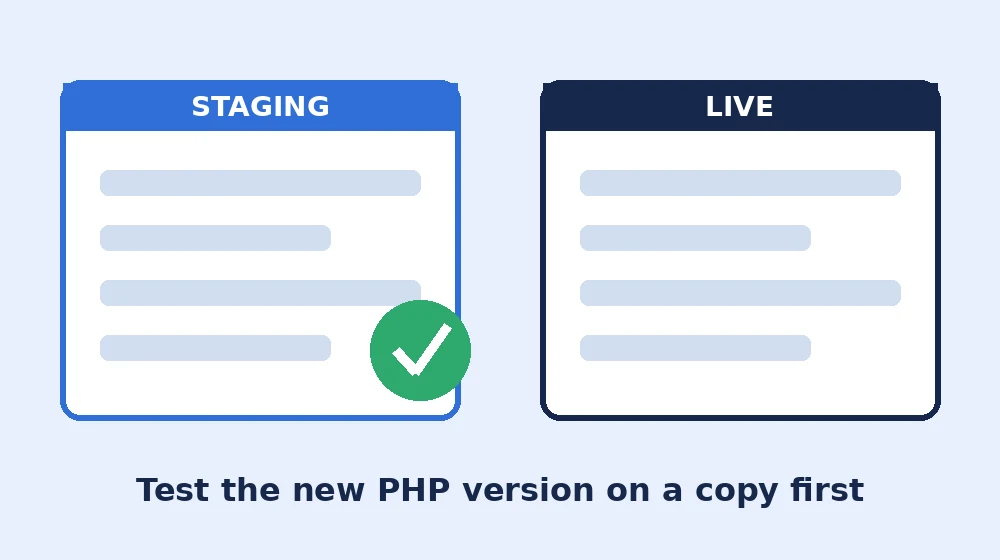
Before any WordPress PHP update I take a full backup of files and database, and I make sure I can actually restore it. Then I copy the site to a staging environment where I can test without real visitors or customers seeing errors. I covered that habit in my post on using a staging site before plugin updates, and the same logic applies here.
If your host has no staging option, a local copy works too. The point is to see problems on a copy, not on the live site.
Step 3: Update WordPress, plugins and theme first
Most PHP problems come from old plugin or theme code, not from WordPress core. So before the WordPress PHP update itself, I update core, every plugin and the theme on staging. Developers usually fix compatibility issues in newer releases, and getting those fixes in first removes most of the risk.
While doing this I look for plugins that have not been updated in two years or more. Those are the ones most likely to break on a newer PHP version. If a plugin is abandoned, I plan a replacement now rather than after the site goes down.
Step 4: Check code compatibility
On bigger sites, or sites with custom code, I scan the plugins and theme for code that newer PHP versions no longer accept. A compatibility checker run on staging gives a quick list of warnings. It is not perfect and it flags some false alarms, but it points me to the files worth reading by hand.
Custom code is where I spend the most time. Things like old create_function() calls, deprecated each() loops, or functions that now throw errors on wrong argument types are common in older child themes and snippets. I fix those directly and keep a note of what changed.
Step 5: Switch PHP on staging and test properly
Now I change the PHP version on the staging copy. I usually move up one step at a time on very old sites, because jumping several versions at once makes it harder to tell which change caused a problem.
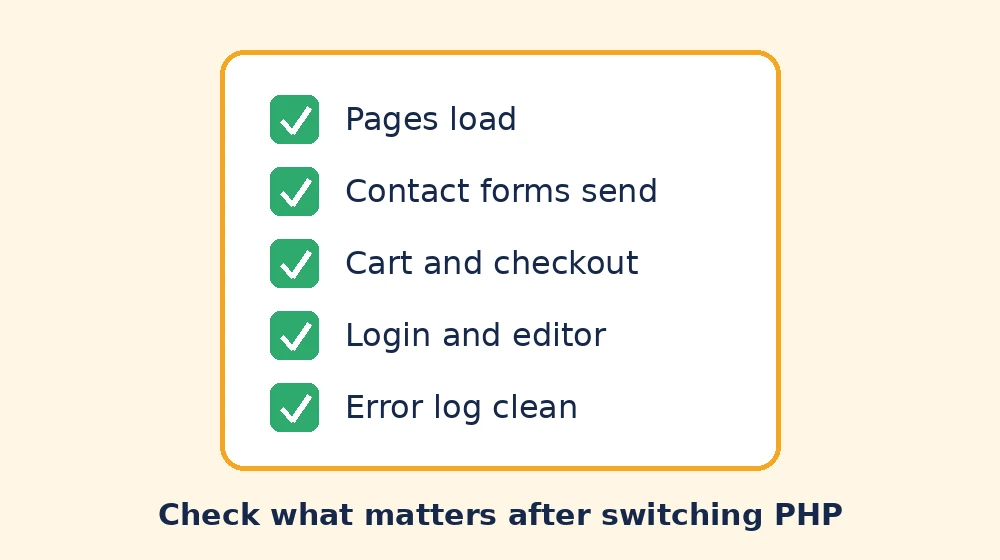
Then I test the parts of the site that make money or bring in leads:
- The homepage, a few inner pages and blog posts.
- Contact forms, including whether the email actually arrives.
- For stores: product pages, cart, checkout and a test payment.
- Logging in, the editor, and saving a post.
- Any custom features, like booking, membership or delivery options.
I also turn on debug logging on staging so I can read warnings in the log file instead of guessing. A clean log after clicking through the site is a good sign the WordPress PHP update is safe.
If something breaks, it is usually one plugin. I disable it to confirm, then update it, replace it or fix the code. If you are not sure which one is at fault, my guide on finding a WordPress plugin conflict walks through the same process.
Step 6: Run the WordPress PHP update on the live site
Once staging is clean, I repeat the same updates on live: core, plugins and theme first, then the PHP version. I pick a quiet time, usually early morning in the client’s time zone, and I stay on the site for the next hour to watch for errors.
Right after the switch I clear every cache: the caching plugin, any server cache and the CDN. Old cached pages can hide problems, or make it look like something broke when it did not.
Step 7: Know how to roll back
Even with a well-tested WordPress PHP update, I always keep a way back. In most hosting panels you can switch the PHP version back in a minute, so if a critical page breaks, I switch back first and debug second. Since I noted the old version in step 1, there is no guessing.
Rolling back is a short-term fix only. The old version still needs to go, so I fix the cause and try again within a few days.
Common problems after a WordPress PHP update
These are the issues I see most often:
- White screen or “critical error” message: almost always a plugin or theme function that the new PHP version does not accept. The error log names the file.
- Missing PHP extensions: the new version on the server may not have the same extensions enabled, such as
imagick,intlormbstring. Ask the host to enable them. - Memory limit reset: some hosts store settings per PHP version, so a custom memory limit can drop back to the default.
- Deprecated notices on screen: these are warnings, not errors, but they should never show to visitors. Turn off display of errors on live and fix them over time.
The official WordPress guide to updating PHP is a good extra reference if you want to understand the background.
How often should you do this?
I check the PHP version on every site I support a few times a year, and I plan the next WordPress PHP update well before the current version reaches end of life. Done that way, it is a calm, planned job instead of an emergency after the host flips a switch.
If you would rather not deal with it yourself, I can check your site, test the new version on staging and handle the switch for you. Get in touch and tell me a bit about your site.