
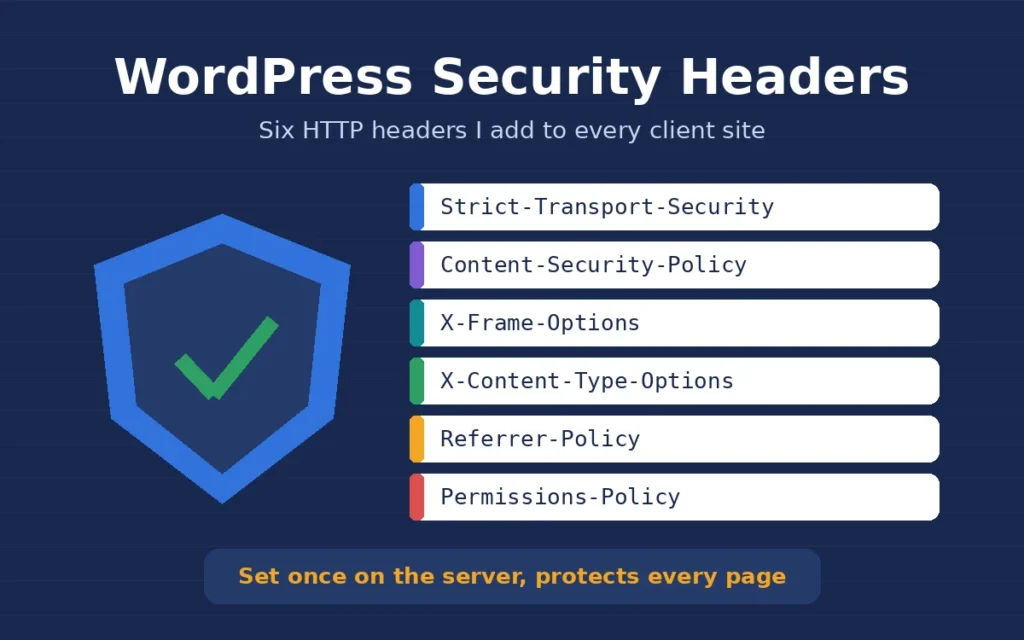
WordPress security headers are one of the quickest security wins I add to client sites, and most site owners have never heard of them. They are small instructions your server sends with every page, telling the browser to always use HTTPS, refuse to load the site inside someone else’s iframe, or block scripts from places you never approved. In this post I share the six WordPress security headers I add to every client site, how I set them up, and how I test them so nothing breaks.
I am a freelance WordPress developer in Surat, and I usually add these headers during a security cleanup or a site handover. They take about half an hour to set up on most sites, but they have to be tested, because a strict header can quietly break a payment form or a YouTube embed.
What WordPress security headers actually do
When a browser requests a page, the server replies with the HTML and a set of HTTP headers. Security headers are extra lines in that reply. They do not change how your site looks. They change what the browser is allowed to do with your pages, which closes off whole types of attacks such as clickjacking, protocol downgrades and some cross-site scripting.
WordPress does not add most of these headers by default, and many hosts do not either. Security headers are not a replacement for updates, strong logins and backups. They are one more layer. If a site has already been attacked, I start with my hacked WordPress site cleanup process first and add headers after the site is clean.
The 6 WordPress security headers I add
These are the WordPress security headers I set on almost every site. The values below are my safe starting point, and I adjust them per site.
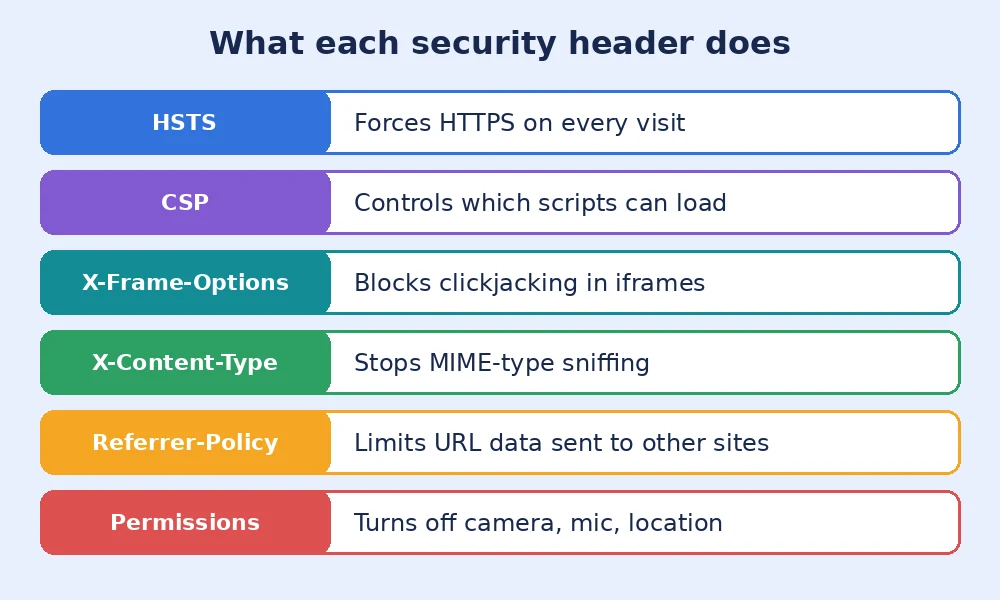
- Strict-Transport-Security (HSTS): tells browsers to only ever load the site over HTTPS. I start with
max-age=31536000; includeSubDomains, but only after I have confirmed every subdomain has a working SSL certificate. - X-Content-Type-Options: set to
nosniff, so the browser does not guess file types and run an uploaded file as a script. - X-Frame-Options: set to
SAMEORIGIN, so other sites cannot load your pages in a hidden iframe to trick visitors into clicking. - Referrer-Policy: I use
strict-origin-when-cross-origin, so full page URLs with query strings are not sent to other sites. - Permissions-Policy: turns off browser features the site does not use, for example
camera=(), microphone=(), geolocation=(). - Content-Security-Policy (CSP): the most powerful and the easiest to get wrong. It lists which domains are allowed to load scripts, styles, images and frames.
I no longer add X-XSS-Protection. Modern browsers have dropped the filter it controlled, and the OWASP Secure Headers Project recommends against relying on it.
How I add WordPress security headers on Apache or Nginx
I prefer to set WordPress security headers at the server level instead of with a plugin. It is faster, it also covers files that never go through WordPress, and it keeps working if a plugin is deactivated. On Apache or LiteSpeed hosting, I add them to the .htaccess file in the site root, above the WordPress block:
<IfModule mod_headers.c>
Header always set Strict-Transport-Security "max-age=31536000; includeSubDomains"
Header always set X-Content-Type-Options "nosniff"
Header always set X-Frame-Options "SAMEORIGIN"
Header always set Referrer-Policy "strict-origin-when-cross-origin"
Header always set Permissions-Policy "camera=(), microphone=(), geolocation=()"
</IfModule>
On Nginx, the same headers go in the server block with add_header ... always; and then I reload Nginx. Before editing .htaccess I always keep a copy, because a single typo can give you a 500 error. I also check that file permissions are sensible, as I explained in my post on WordPress file permissions.
If the client is on managed hosting with no server access, I use a small code snippet hooked to send_headers in a site-specific plugin, or the host’s own header settings if they offer them. I avoid heavy security plugins just for headers.
Content-Security-Policy without breaking the site
CSP is where most people break their site. A typical WordPress site loads scripts from Google Analytics, a payment gateway, a chat widget, reCAPTCHA, YouTube and a font provider. If the policy forgets one of them, that feature silently stops working.
So I never start with an enforced policy. I first add Content-Security-Policy-Report-Only. It blocks nothing, but the browser console shows every resource that would have been blocked. I browse the whole site, including checkout and the admin area, and build the list of allowed domains from those reports. The MDN Content-Security-Policy reference is the guide I keep open while writing the rules.
On many WordPress sites, page builders and plugins rely on inline scripts, so a fully strict CSP is not realistic without a lot of work. In those cases I still set a basic policy with frame-ancestors 'self', object-src 'none' and base-uri 'self', which gives real protection without touching scripts.

Testing WordPress security headers after setup
I add new WordPress security headers on a staging copy first, then test the parts of the site that make money or collect leads:
- Contact and quote forms, including reCAPTCHA or other spam protection.
- WooCommerce checkout with each payment gateway, because many gateways open their own frames or scripts.
- Embedded videos, maps and booking widgets.
- The WordPress admin, the block editor and the page builder.
Then I check the live response headers in the browser’s developer tools, under the Network tab, or with curl -I https://example.com from the terminal. A free scanner such as Security Headers gives a quick grade and shows anything missing. I treat the grade as a checklist, not a goal. A working checkout matters more than an A+.
Mistakes I see with security headers
The most common mistake with WordPress security headers is setting HSTS with preload on day one. Preload is hard to undo, so I only add it once the site and all subdomains have run on HTTPS without problems for a while. Another is adding the same header twice, once in .htaccess and once in a plugin, which can send conflicting values. The last one is forgetting caching: after changing headers, I clear the server cache and CDN cache, otherwise old responses keep being served.
Final thoughts
WordPress security headers take very little time to add and quietly protect every page on your site. Start with the five simple headers, roll out Content-Security-Policy in report-only mode, and test your forms and checkout before you enforce anything. If you would like me to check your site’s headers or set them up without breaking anything, you can contact me and I will take a look.